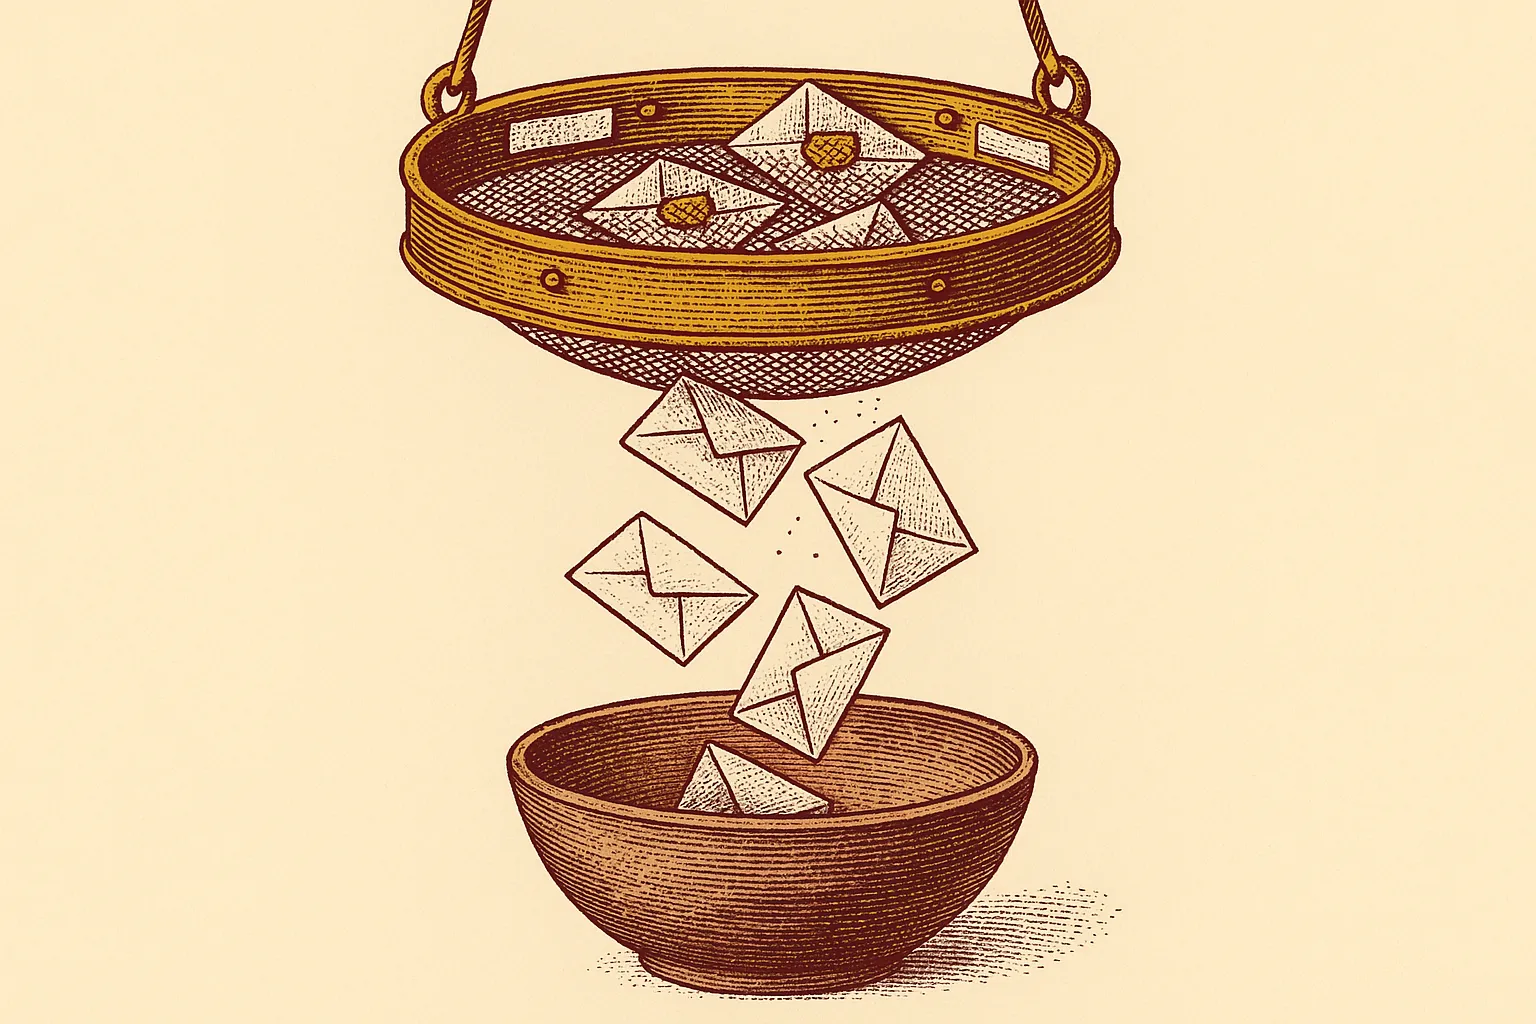
Google’s February 2024 bulk-sender enforcement — and the follow-up tightening in 2025 — pushed more mail into Gmail’s Promotions and Updates tabs automatically, but the ones that still slip through are exactly the ones that need a rule. A filter is how you stop handling the same message twice. Two minutes to set up, runs forever, server-side, on every device. Here is the exact sequence, every action Gmail actually offers, and the retroactive checkbox most people miss.
Create a Filter in 90 Seconds
The fastest method: click the sliders icon in the Gmail search bar, fill in one or more fields (From, Subject, Has the words), click “Create filter” at the bottom of the panel, pick your actions, and confirm. Filters save server-side and run on every device automatically.
The full sequence, desktop browser:
- Open Gmail. Click the search bar at the top.
- On the right side of the search bar, click the sliders icon (Show search options). The advanced search panel drops down.
- Fill in any combination of fields:
- From — sender email or domain (
@example.commatches every address on that domain) - To — recipient (useful for filtering mail sent to a specific alias)
- Subject — exact or partial subject-line match
- Has the words — any keyword in the body or subject
- Doesn’t have — exclude matches containing a keyword
- Size — greater than or less than a specific file size
- Date within — restrict to a date range
- Search — limit to Inbox, All Mail, a label, etc.
- Has attachment / Don’t include chats checkboxes
- From — sender email or domain (
- Click Search to preview. Gmail shows the messages that would match. Check the results.
- Once you’re satisfied, click Create filter at the bottom-right of the search panel.
- Gmail opens the action screen. Tick one or more actions (full list in the next section).
- Click Create filter to save.
The filter is active instantly. Every future message that matches goes through the rule.
Alternate method — from an existing message:
- Open an email from the sender you want to rule-ify.
- Click the three-dot More menu at the top of the message (next to the Reply button).
- Select Filter messages like these. Gmail pre-fills the From field.
- Adjust criteria if needed, then Create filter as above.
Every Action a Filter Can Take
Gmail filters can: skip the inbox (archive), mark as read, star, apply a label, forward to another address, delete, mark as never spam, flag as always/never important, and categorize (Primary/Promotions/Updates/Social/Forums). You can combine multiple actions in one filter.
The complete action menu, in order:
- Skip the Inbox (Archive it) — message goes to All Mail but not your inbox. Combine with “Apply the label” to quietly file things you still want searchable.
- Mark as read — handy for automated notifications you do not need bolded.
- Star it — auto-stars matching messages.
- Apply the label — attach a label. If the label doesn’t exist yet, click “Choose label” → “New label” to create one inline.
- Forward it to — send a copy to another address. You must have verified the destination address under Settings → Forwarding and POP/IMAP before this option works. Google’s documentation explicitly states this action applies only to new incoming mail, not past messages.
- Delete it — move to Trash immediately. Combines with the retroactive checkbox for one-pass cleanup.
- Never send it to Spam — whitelist. Use for senders Gmail occasionally misclassifies (e.g., a transactional email service).
- Always mark it as important / Never mark it as important — override Gmail’s importance ranking.
- Categorize as — force a message into a specific tab (Primary, Social, Promotions, Updates, or Forums).
Combine for power: one filter can, for example, skip the inbox, mark as read, apply a “receipts” label, and never mark as important. That’s four checkboxes on the same screen — no need for multiple filters.
The Retroactive Checkbox Most People Miss
On the action screen, the checkbox “Also apply filter to matching conversations” at the very bottom applies the filter retroactively to every matching email already in your account. This is how you clean up years of accumulated mail in one pass without rebuilding your filter logic later.
The retroactive option is what separates a filter from a simple forward-looking rule. Without it, your filter only affects messages received after the moment you save. With it checked, Gmail walks back through every matching conversation in All Mail and applies the actions — deleting, labeling, archiving, etc.
Two important caveats, both documented by Google:
- Forward it does not run retroactively, regardless of the checkbox. Only new inbound messages are forwarded.
- Replies to previously filtered messages only match the filter if the reply itself meets the criteria. A reply’s subject line still contains the original subject, so Subject-based filters usually still fire — but From-based filters that match the original sender won’t catch the replying party.
If you’re building filters to deal with marketing emails in bulk — newsletters, promotional lists, subscription debris — a filter tree gets unwieldy fast. Leave Me Alone uses the List-Unsubscribe header (mandated by Google’s 2024 sender guidelines for bulk mail) to actually unsubscribe from the source instead of filtering on your end. One click per sender, and the message stops leaving the sender’s server — not just your inbox.
Editing and Deleting Existing Filters
Access your filter library at Settings (gear icon) → See all settings → Filters and Blocked Addresses. Every filter appears with an Edit and a Delete link inline. You can also export filters to XML for backup or sharing across accounts.
To edit:
- Click the gear icon (top right) → See all settings.
- Open the Filters and Blocked Addresses tab.
- Find the filter. Click edit on the right.
- Adjust criteria → Continue → change actions → Update filter.
To delete:
Same tab, click delete on the right. Gmail asks for confirmation once.
To back up or share across accounts:
On the same tab, check boxes next to the filters you want → click Export at the bottom. Gmail downloads an mailFilters.xml file. Import on another account via the same tab → Import filters → select the XML. This is the fastest way to replicate your filter set when you switch Gmail accounts or set one up for a team member.
Five Filter Recipes That Save Hours
The five recipes most inboxes benefit from: (1) auto-archive promotional mail with a label, (2) whitelist your bank’s transactional domain, (3) star messages from your manager, (4) send invoices to a receipts label, (5) categorize GitHub/Linear/Jira notifications as Updates so they stop interrupting.
1. Auto-file promotional mail — subject or label, not Promotions tab.
From: @bestbuy.com OR @amazon.com OR @wayfair.com → Skip the Inbox, Apply the label “Shopping”, Mark as read. Retroactive on.
2. Whitelist transactional email from your bank or payroll.
From: no-reply@chase.com → Never send it to Spam, Always mark as important. Saves you from the Monday morning “why did my direct deposit confirmation go to spam” moment.
3. Surface everything from your manager or board.
From: jane.doe@yourcompany.com → Star it, Always mark as important, Apply label “Boss”. Optionally forward to a personal address for weekend oversight.
4. Route invoices to a receipts archive.
Has the words: invoice OR receipt OR order confirmation AND Has attachment → Skip the Inbox, Apply the label “Receipts”. Pair with retroactive on for instant cleanup.
5. Quiet GitHub/Linear/Jira notifications.
From: notifications@github.com OR @linear.app OR @atlassian.net → Categorize as Updates, Mark as read. They’re still searchable, they stop interrupting.
Limits, Caveats, and Common Mistakes
Filters are powerful but not omnipotent. A few edges worth knowing:
- Filter creation is desktop-only. The Gmail Android and iOS apps let you run inbox actions but not create filters. For that, you need a browser — mobile browser in desktop mode works in a pinch.
- Forward destinations must be pre-verified. Gmail will not let you pick “Forward it to” until the destination address has clicked a verification link sent from Settings → Forwarding and POP/IMAP. Plan one step ahead.
- OR logic requires uppercase OR.
from:(alice OR bob)works.from:(alice or bob)does not — Gmail treats lowercase “or” as a literal keyword. - Filters don’t chain. A message that matches two filters gets both sets of actions. If the actions conflict (one archives, one stars-and-leaves-in-inbox), the archive wins.
- Gmail Workspace admins can override. Organizational filters pushed by an admin run before personal filters and cannot be edited by end users.
- Per-account practical limit ~1000. Workspace admin documentation references this cap. Personal accounts likely allow more in practice, but once you pass 50 filters you’re building a maintenance problem — consolidate with OR logic instead.

Alexis Dollé, email expert for 10+ years. Founder of Email Tools. I test every email client and utility myself, then write about them the way I’d explain them to a friend — no marketing fluff, no sponsored rankings, every claim sourced.
LinkedInSources & references
- Google Support, “Create rules to filter your emails in Gmail” — filter creation methods (search bar and message-level), the full list of filter actions, and the retroactive “Apply to matching conversations” option. Accessed 2026-04-20. support.google.com/mail/answer/6579
- Google Support, “Search operators you can use with Gmail” — from:, to:, subject:, has:attachment, older_than:, size: operators valid in filter criteria. Accessed 2026-04-20. support.google.com/mail/answer/7190
- Google Support, “Email sender guidelines” — February 2024 bulk-sender requirements, including mandatory RFC 8058 one-click unsubscribe for senders over 5,000 messages/day. Accessed 2026-04-20. support.google.com/mail/answer/81126
- Google Support, “Filters and Blocked Addresses settings” — location of the filter library, Export/Import XML behavior. Accessed 2026-04-20. support.google.com/mail/answer/1366858
- Google Workspace Admin Help, “Manage filters for users” — admin-pushed filter behavior and per-account filter limits in Workspace context. Accessed 2026-04-20. support.google.com/a/answer/2368518
Frequently asked questions
How many filters can I create in Gmail?
Google does not publish a hard cap, but community reports and Workspace admin documentation converge on a practical limit of around 1,000 filters per account. You’ll rarely hit this — 20 to 30 well-written filters cover most inboxes.
Do Gmail filters run on mobile as well as desktop?
Yes. Filters are stored server-side, so they run on every Gmail surface automatically — web, Android, iOS, and any IMAP client reading the account. You create and edit filters from the desktop web interface only; the mobile apps don’t expose filter creation.
Can a Gmail filter delete existing emails, not just future ones?
Yes. When you create a filter and choose “Delete it”, check the “Also apply filter to matching conversations” box on the same screen. Every existing email matching the criteria moves to Trash immediately, alongside future ones.
Why does my filter’s forward action say it only applies to new mail?
Google documents that forwarding filters apply only to incoming messages received after the filter was created, even if you check the retroactive box. This is a security safeguard. To forward historical messages, open them individually or export them via Google Takeout.
Can I filter by an entire domain instead of one sender?
Yes. In the From field, type @example.com (with the @ symbol). Gmail matches every sender using that domain. This is the fastest way to deal with a company that emails you from multiple addresses.
What is the difference between a Gmail filter and a Gmail label?
A label is a tag you attach to messages — manually or via a filter. A filter is an automation rule that decides what happens to incoming mail, including optionally applying a label. Labels organize; filters automate. Most real workflows combine the two.
Related: How to block someone on Gmail — when a filter is not the right tool. How to delete all emails from one sender — for bulk cleanup before you rule-ify.