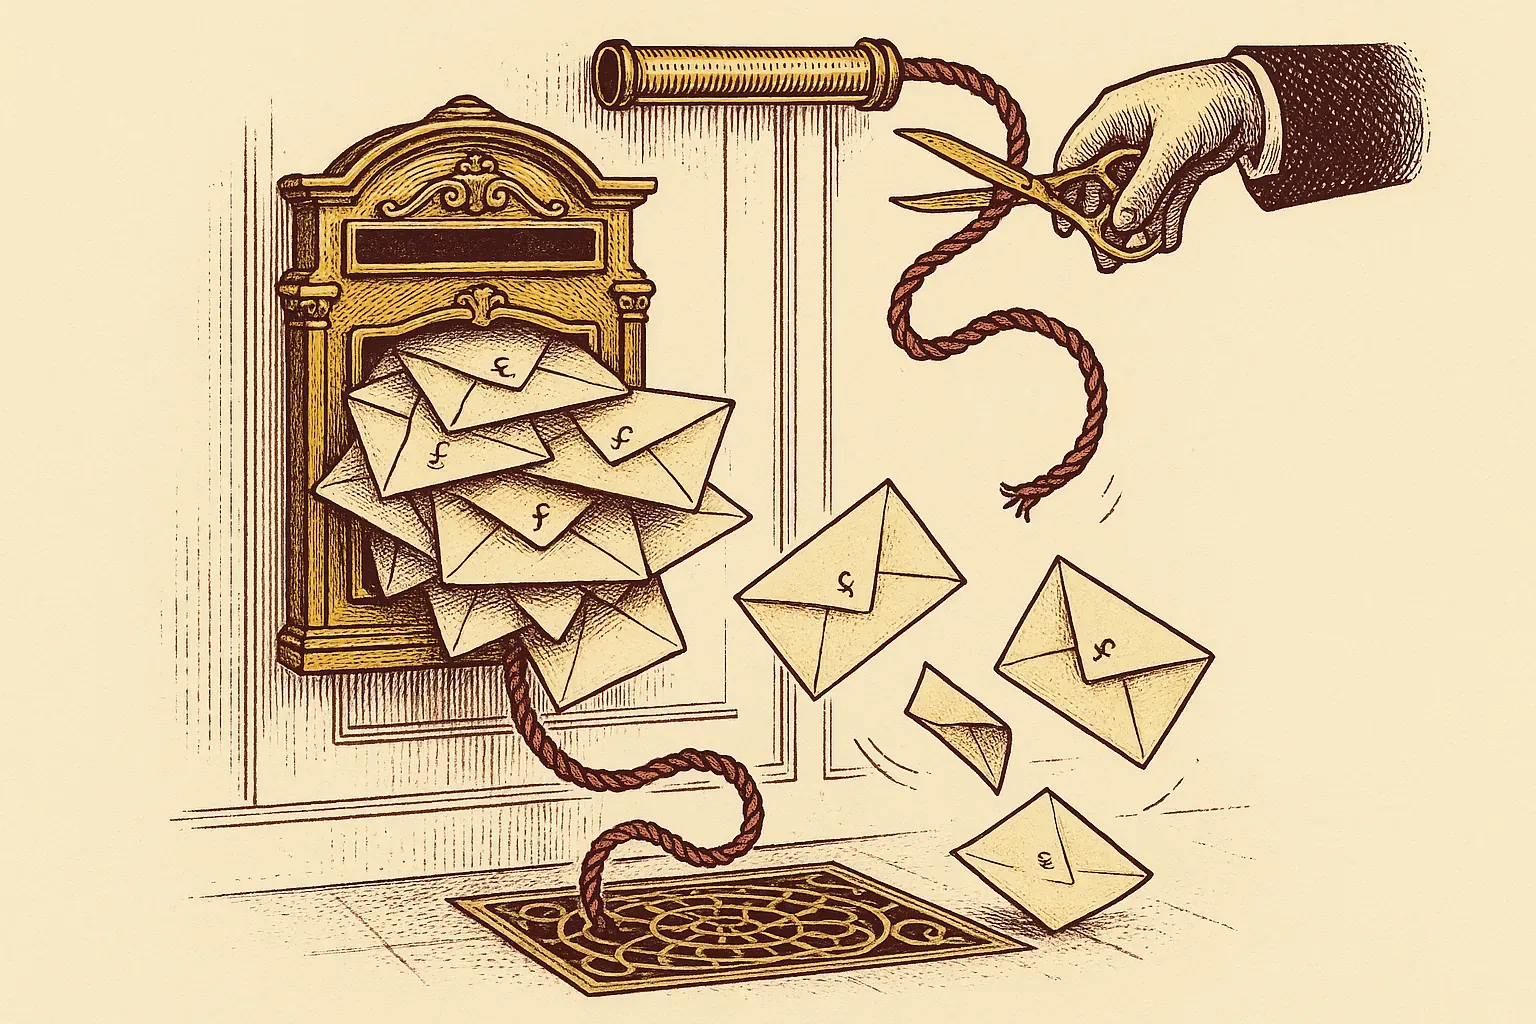
Facebook sends over a dozen distinct email notification categories — friend requests, group activity, marketplace updates, event reminders, birthday alerts, security confirmations — and Meta updated its notification delivery infrastructure in late 2025 to make some of these categories opt-in-by-default for newly re-engaged accounts. If your inbox is drowning in @facebookmail.com messages, you are not alone, and the fix is faster than you think. This guide covers every working method: turning off emails inside Facebook on the web, turning them off inside the mobile app, using the unsubscribe link inside individual Facebook emails, setting up a Gmail filter as a failsafe, and using Leave Me Alone for bulk cleanup if Facebook emails are one item in a larger subscription pile.
Try Leave Me Alone freeWhy Facebook sends so many emails
Facebook emails fall into two buckets: marketing notifications (activity digests, friend suggestions, group updates, event reminders, marketplace alerts) and transactional emails (security alerts, login confirmations, password resets, billing receipts). You can opt out of the first bucket entirely. The second bucket Facebook will send regardless of your preferences.
Most people who are surprised by the volume of Facebook emails made the mistake of treating Facebook as a passive platform. Every action — a tag, a comment, a friend request, a marketplace inquiry — is a trigger for at least one email unless you explicitly disable it. Facebook’s default state for new accounts and for reactivated accounts is maximum email coverage, meaning you receive emails for nearly every event category.
There is also a subtler driver: Facebook periodically re-enables email notifications after major product updates, account security reviews, or periods of account inactivity. You turn everything off, forget about it for six months, return to the platform, and find the emails are back. This is not accidental — it is a documented pattern across Meta’s notification infrastructure.
The path out starts with understanding which bucket you are dealing with. Transactional emails are largely unavoidable (and actually useful — you want to know if someone tries to reset your password). Marketing notifications are entirely optional and can be silenced in under three minutes.
Turn off Facebook emails on the web (desktop)
On desktop, go to the Facebook Settings menu, navigate to Notifications, open the Email tab, and turn off each notification category individually or disable all email notifications at once using the master toggle if your account version includes it.
Here is the exact path, step by step:
Step 1 — Open Settings. Click the down-arrow icon in the top-right corner of any Facebook page (the same menu that shows your profile, Help & Support, and Log Out). Select Settings & Privacy, then Settings.
Step 2 — Navigate to Notifications. In the left-hand column, click Notifications. You will see a grid of notification categories — on Facebook, these are organized by type (Comments, Tags, Friend Requests, etc.).
Step 3 — Open the Email section. At the top of the Notifications page, you will see filter options. Click Email to filter the view to email-only notification types.
Step 4 — Disable categories. Each category shows a toggle or a checkbox. Work through the list: Comments and Reactions, Friend Requests, Birthdays, Group Activity, Events, Marketplace, Pages you follow, Live videos, Memories, and others depending on the features you use. Turn each off.
Step 5 — Check “All Notifications.” Some account versions include an “All Notifications” or “Email Notifications” master toggle at the top of this section. If yours does, switching it off saves you from toggling categories individually. If it does not appear, you need to go category by category.
Step 6 — Save and wait. Changes take effect immediately on Facebook’s side. Allow up to 48 hours for email sends already queued in Meta’s pipeline to flush through — some emails arrive after you have saved the changes simply because they were queued before the setting change landed.
After completing these steps, check your inbox over the next 48-72 hours. If any Facebook emails continue to arrive past that window, they are either transactional (expected) or a category you missed in step 4.
Turn off Facebook emails on the mobile app
On the Facebook mobile app for iOS and Android, reach Notification Settings via the hamburger menu (three lines), then Settings & Privacy > Settings > Notifications > Email. The path is identical on both platforms; the icon placement differs slightly between iOS and Android.
Step 1 — Open the menu. On iOS, the three-line menu icon is in the bottom-right corner of the app. On Android, it sits in the top-right corner. Tap it.
Step 2 — Go to Settings & Privacy. Scroll down in the menu until you see Settings & Privacy. Tap it, then tap Settings in the expanded options.
Step 3 — Tap Notifications. Inside Settings, scroll to Notifications and tap it.
Step 4 — Select Email. You will see notification channels listed: Push, In-App, Email, SMS (if set up). Tap Email.
Step 5 — Turn off categories. The same category list from the desktop appears here. Tap each category and disable the email toggle, or use the all-notifications master switch if it is present in your app version.
Step 6 — Confirm with a test. If you are unsure whether the settings saved (mobile apps occasionally fail to sync settings changes on spotty connections), close the app entirely, reopen it, navigate back to the same screen, and verify the toggles are still in the off position.
One common mobile-specific issue: some users find the Email section does not appear in their notification settings if they have not verified their email address with Facebook. In that case, verify your email first (Settings > Personal Information > Email Address) and then return to Notification Settings.
Using the unsubscribe link inside Facebook emails
Every marketing Facebook email contains an unsubscribe link in the footer that opts you out of that specific notification category. It does not turn off all Facebook emails — only the category represented by that email.
Scroll to the very bottom of any Facebook notification email. You will see a line that reads something like “This email was sent to [your address]. If you don’t want to receive these emails from Facebook in the future, you can unsubscribe.” Click that link.
Facebook redirects you to a confirmation page where it tells you which notification category you are opting out of. Confirm, and that category is disabled. The change is applied to your account settings, so it persists even if you access Facebook from a different device.
The limitation is precision: if you are receiving six different types of Facebook emails, you have to click the unsubscribe link inside each type separately. For large-scale cleanup, the Settings > Notifications > Email path on desktop is faster because you can disable all categories in a single session.
The unsubscribe link approach is useful when you are on mobile and want to stop a specific type of email immediately — say, Marketplace activity — without navigating through the app settings.
Gmail filter as a fallback
If you use Gmail, a server-side filter on @facebookmail.com blocks all Facebook marketing emails before they reach your inbox, regardless of what your Facebook notification settings say. This is the most reliable fallback if Facebook re-enables notifications after a product update or account review.
All Facebook email notifications originate from the domain @facebookmail.com (not @facebook.com — note the difference). A single Gmail filter on this domain catches everything.
Step 1 — Open Gmail filter settings. Click the gear icon in Gmail’s top-right corner. Select See all settings. Navigate to the Filters and Blocked Addresses tab. Click Create a new filter.
Step 2 — Enter the filter criteria. In the From field, type: @facebookmail.com
Step 3 — Choose the action. Click Create filter. Check Delete it to permanently discard all matching emails, or check Skip the Inbox (Archive it) if you want to keep them accessible in All Mail without cluttering your inbox.
Step 4 — Apply to existing messages. On the same screen, check Also apply filter to matching conversations to retroactively clean up past Facebook emails.
Step 5 — Create. Click Create filter again to confirm.
From this point on, every @facebookmail.com email is handled server-side by Google’s infrastructure before it even appears in your inbox. The filter works even on mobile Gmail apps because it operates at the account level, not the app level.
Note: Facebook security emails (login alerts, password reset confirmations) also come from @facebookmail.com. If you choose Delete in step 3, you will also delete security emails. The safer choice for most users is Skip the Inbox so security emails remain accessible in All Mail without appearing in your main inbox.
Try Leave Me Alone freeBulk unsubscribe with Leave Me Alone
Leave Me Alone scans your Gmail, Outlook, Yahoo, or other inbox and shows every subscription and notification email — including Facebook — in one list. You can unsubscribe from Facebook emails and dozens of other senders in a single session, with the tool following actual unsubscribe links rather than just filtering.
If Facebook emails are part of a broader subscription overflow — newsletters, app notifications, retailer digests, SaaS onboarding sequences — tackling each sender manually across multiple settings panels is time-consuming. Leave Me Alone aggregates all of them.
How it works with Facebook emails specifically: Leave Me Alone identifies @facebookmail.com senders in your inbox, lists them under your subscription sources, and lets you click Unsubscribe. It follows Facebook’s own unsubscribe link, which means it achieves the same opt-out as clicking the footer link manually — the change registers in your Facebook account settings, not just as a Gmail filter.
The practical advantage: If you have not cleaned your inbox in a while, you might have 200+ distinct subscription emails. Going through them one by one in Facebook settings and then repeating the process for every other sender is a multi-hour project. Leave Me Alone compresses it into a 15-minute session.
Leave Me Alone supports Gmail, Outlook, Yahoo, AOL, Fastmail, iCloud, and most IMAP providers. The free tier allows 10 unsubscribes with no credit card required, so you can verify it handles your inbox correctly before committing to a paid plan. Paid plans start at a one-time $19 seven-day pass for higher volume cleanup.
For a full comparison of bulk unsubscribe tools, see our best unsubscribe tools 2026 roundup and best way to mass unsubscribe from emails.
Try Leave Me Alone freeWhy Facebook still sends emails after you opt out
Facebook continues sending some emails after you opt out because transactional emails — security alerts, login confirmations, password reset links, billing and payment confirmations — are exempt from notification preferences. You cannot opt out of those, and they come from the same @facebookmail.com domain as marketing emails.
There are a few other reasons Facebook emails reappear after you have turned them off:
Settings reset after account events. Facebook has been observed resetting some notification preferences after password changes, account recovery flows, or after you verify a new email address. If you recently changed your Facebook password or recovered your account, check your notification settings again.
Category granularity. Facebook’s notification system is granular — “Group notifications” is not a single toggle but covers group posts, group events, group admin changes, and group invitations as separate sub-categories. Disabling the parent category does not always cascade to sub-categories in older account versions. If you disabled “Group activity” but still get group-related emails, expand the category and disable each sub-option.
Queued email flush. Emails already queued in Meta’s delivery system when you save your settings changes will still arrive for up to 48 hours. This is not a settings failure — it is pipeline latency.
Re-enabled after long inactivity. If you deactivated your Facebook account and then reactivated it, Meta restores notification settings to defaults, not to your last saved preferences. You need to re-configure notifications from scratch after a reactivation.
If emails persist more than a week after fully disabling all notification categories in Settings, and you have confirmed the changes are saved, use the Gmail filter method above as a permanent override.
GDPR right to object
Under GDPR Article 21, people in the EU and EEA have the right to object to processing of personal data for direct marketing purposes. Facebook marketing emails are direct marketing. Filing a formal objection requires Facebook to stop sending them.
The right to object under GDPR Article 21 is stronger than an opt-out preference in a settings menu. When you file a GDPR objection, Facebook must demonstrate a compelling legitimate interest that overrides your rights to continue processing — for direct marketing, that bar cannot be met, so the objection must be honored.
How to file a GDPR objection with Meta:
- Go to Facebook’s Privacy Center at facebook.com/privacy/center.
- Look for “Right to Object” or “Your Privacy Rights” — Meta is required to provide an accessible path for exercising these rights under GDPR.
- Alternatively, submit a data subject access request via the Meta Privacy Request Portal.
- In your objection, state: “I object to the processing of my personal data for the purposes of direct marketing, including email communications, as permitted under Article 21(2) of Regulation (EU) 2016/679.”
Meta’s Data Protection Officer can also be reached via their Privacy Center for formal complaints.
This route is relevant mainly for EU/EEA residents and is overkill for most people who simply want fewer emails. The Settings > Notifications path handles the practical problem faster. The GDPR objection is the right lever when Facebook has ignored your notification preferences repeatedly or when you want a documented, enforceable opt-out for legal purposes.
For other major email cleanup strategies beyond Facebook, see our guide on how to unsubscribe from all emails fast.

Alexis Dollé, email expert for 10+ years. Founder of Email Tools. I test every email client and utility myself, then write about them the way I’d explain them to a friend — no marketing fluff, no sponsored rankings, every claim sourced.
LinkedInSources & references
- Facebook Help Center — Manage your notification settings. Accessed 2026-05-18. facebook.com/help/notifications
- Facebook Help Center — Email notifications from Facebook. Accessed 2026-05-18. facebook.com/help/327994220749698
- Leave Me Alone — Bulk email unsubscribe tool, feature list, pricing, supported providers. Accessed 2026-05-18. leavemealone.com
- EUR-Lex — Regulation (EU) 2016/679, Article 21: Right to object. eur-lex.europa.eu
- Email Tools — Best unsubscribe tools 2026. email-tools.me/posts/best-unsubscribe-tools-2026/
- Email Tools — Best way to mass unsubscribe from emails. email-tools.me/posts/best-way-to-mass-unsubscribe/
- Email Tools — How to unsubscribe from all emails fast. email-tools.me/posts/how-to-unsubscribe-from-all-emails-fast/
Frequently asked questions
Why does Facebook keep sending emails even after I unsubscribe?
Facebook distinguishes between marketing emails (friend suggestions, activity digests) and transactional emails (security alerts, password resets, billing). You can opt out of all marketing notifications via Settings > Notifications > Email. However, Facebook legally reserves the right to send transactional and security-related emails regardless of your notification preferences. If you’re still receiving marketing emails after turning off all notifications, check that your settings saved correctly and use a Gmail filter as a secondary block.
Does clicking ‘Unsubscribe’ inside a Facebook email actually work?
Yes, for the specific notification type that email represents. Clicking the unsubscribe link in a Facebook email opts you out of that category only — for example, friend activity emails. Other categories remain active. To turn off all Facebook emails at once, use Settings > Notifications > Email inside your Facebook account.
How do I stop Facebook emails on the mobile app?
Open the Facebook app, tap the three-line menu icon (bottom right on iOS, top right on Android), go to Settings & Privacy > Settings > Notifications > Email, and disable each notification category.
Can Facebook send me emails without my consent under GDPR?
Under GDPR Article 21, EU residents have the right to object to processing of personal data for direct marketing, which includes promotional Facebook emails. Transactional emails (security, account integrity) are based on legitimate interest and can still be sent. File a formal objection through Facebook’s Privacy Center or Meta’s Data Subject Request portal.
What is Leave Me Alone and how does it help with Facebook emails?
Leave Me Alone scans your inbox across Gmail, Outlook, Yahoo, and other providers and shows all subscriptions in one list. You can bulk-unsubscribe from Facebook marketing emails and dozens of other senders in minutes. It follows actual unsubscribe links so emails stop at source. Free tier covers 10 unsubscribes with no credit card required.
How do I block all Facebook emails in Gmail without touching Facebook settings?
In Gmail, go to Settings > See all settings > Filters and Blocked Addresses > Create a new filter. Enter @facebookmail.com in the From field, click Create Filter, and choose Skip the Inbox or Delete. This handles all Facebook emails server-side regardless of your Facebook notification settings.
Related: Best unsubscribe tools 2026 — full roundup of inbox cleanup tools. Best way to mass unsubscribe from emails — bulk strategy guide. How to unsubscribe from all emails fast — the fastest complete method.